
To repot a pitcher plant in the UK, wait until Sarracenia are waking up in March or April, and until Nepenthes are growing strongly from late spring. Use a pot one size up, a nutrient-free mix, and handle the roots as little as you can. Here is how I’d do it, in order, using peat-free ingredients from ordinary garden centres.
It’s mid-November as I write, so Sarracenia are heading into dormancy and nothing needs doing now. Treat this as your winter reading and shopping list for the spring.
1. Pick the right moment
Sarracenia are hardy and should be repotted just as growth restarts, usually March in a mild year and April after a cold one. Look for new pitchers or the flower buds pushing up. Repotting then gives the roots a whole season to settle in.
Nepenthes are tender and would rather be repotted a bit later, from about May once the greenhouse or windowsill is reliably warm and light levels are climbing. Don’t repot either plant in winter, when roots are barely working and wet compost can rot.
2. Decide whether it needs repotting at all
Sarracenia generally want dividing and repotting every two to three years, or sooner if the rhizome has crowded the pot. If roots are poking out of the drainage holes and the compost has sunk and turned to mush, it’s time. A Nepenthes needs it when the roots circle the pot or the mix has broken down and stays soggy.
If neither applies, leave it alone. Pitcher plants dislike disturbance more than a slightly tight pot.
3. Gather a peat-free mix that works
The mix must be low in nutrients and hold moisture while staying airy. Peat-free multipurpose compost is no good: it is far too rich and will burn the roots. Instead, build your own from ingredients sold at UK garden centres and online:
- Coir (coconut fibre), the usual peat substitute. Rinse it well, as some blocks contain salts.
- Perlite, the white volcanic grains that keep the mix open.
- Horticultural grit or lime-free sand for Sarracenia. Check the label says lime-free or rainwater-safe.
- Orchid bark and sphagnum moss for Nepenthes, which like a chunkier, airier mix.
A starting point for Sarracenia is roughly equal parts rinsed coir and perlite, with some grit added. For Nepenthes, try coir, perlite and orchid bark in similar parts, with a little long-fibre sphagnum. These are my own starting ratios, so adjust to how quickly your pots dry out. My article on the peat ban and carnivorous plants covers the wider choice of materials.
4. Use rainwater and clean pots
Carnivorous plants hate tap water in the long run, because dissolved minerals build up in the compost. Collect rainwater in a butt, and wet your new mix with it before potting. Scrub old pots with hot water, with no detergent residue left behind.
For Sarracenia, pick a deep pot, as the roots run down. Plastic is fine. For Nepenthes, a plastic pot with plenty of holes, or a hanging basket, suits the airy roots.
5. Lift and tease out the plant
Tip the pot gently on its side and slide the plant out. For Sarracenia, shake off the old compost and rinse the roots in a bowl of rainwater until you can see the rhizome, the thick horizontal stem. Trim away only black, dead roots and any dead pitchers.
For Nepenthes, keep as much of the root ball intact as you can. Pick away the loose old mix from the outside, but don’t wash the whole thing bare. Nepenthes roots are fine and slow to recover.
6. Pot up and firm lightly
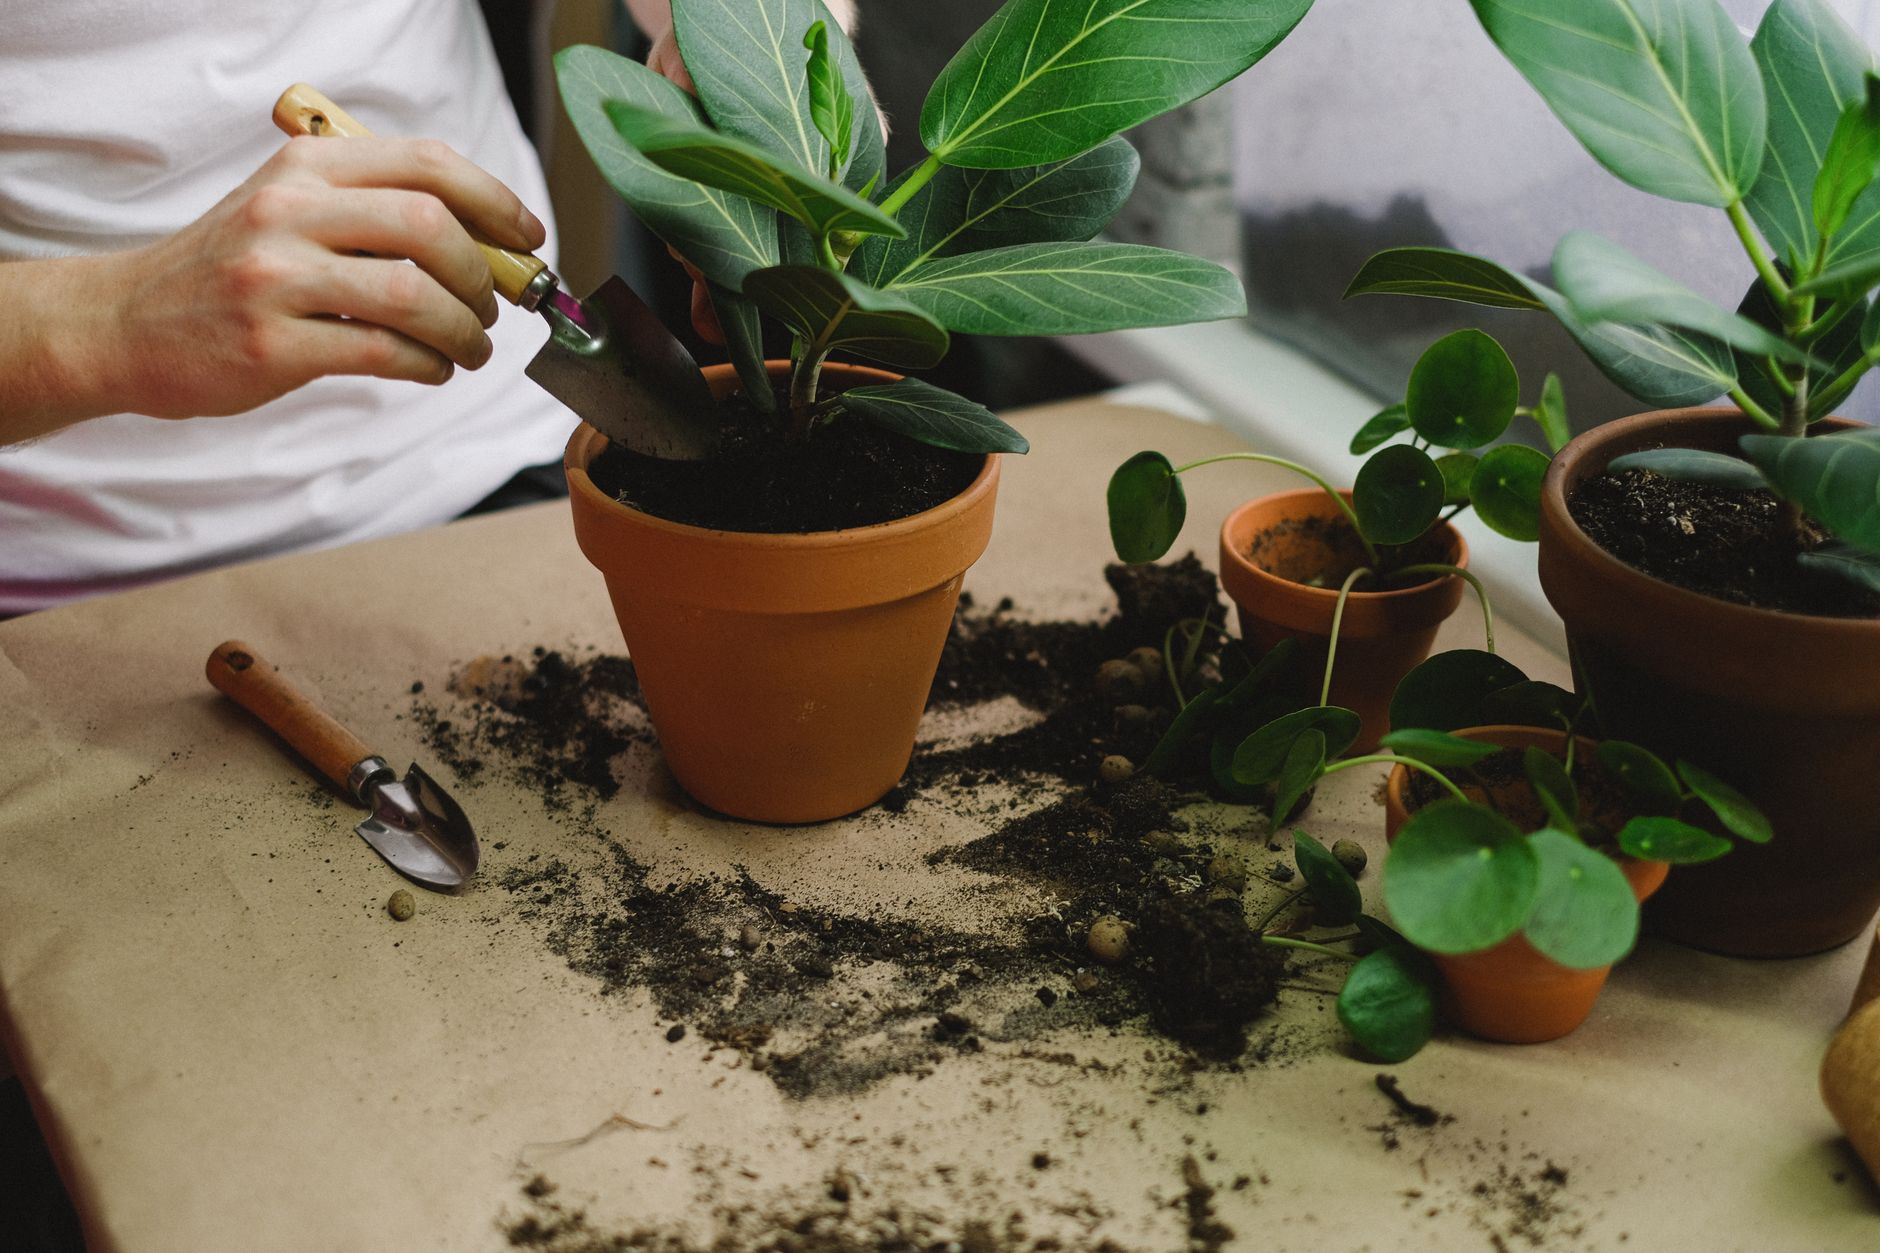
Put a layer of mix in the bottom, set the plant at the same depth as before, and fill around the roots. For Sarracenia, keep the rhizome horizontal with the growing tip just at the surface. Press gently, never hard, since you want air in the mix.
If a Sarracenia clump has several crowns, you can split it with clean scissors or a sharp knife, giving each division some roots. Don’t split a small plant into tiny pieces.
7. Water and aftercare
Sarracenia grow in the tray method: stand the pot in a few centimetres of rainwater through the growing season, letting the tray dry briefly now and then. Nepenthes prefer the compost damp but not sitting in water, with a good soak from the top.
Keep newly repotted plants in bright light, but out of fierce midday sun for a week or two. Don’t feed or fertilise. A Nepenthes may drop a pitcher or sulk for a few weeks, which is normal. If you have a greenhouse, keep humidity up for a Nepenthes and ventilate on warm days.
How long before a repotted pitcher plant recovers?
Most repotted Sarracenia carry on growing within a few weeks if repotted at the start of the season. Nepenthes can take longer, often several weeks before new growth appears. Keep conditions steady and resist the urge to keep checking the roots.
For general help finding plants and rules on buying, the Royal Horticultural Society is a sensible place to start. Next spring, put a note in your diary for the first week of March, and have your coir, perlite and rainwater ready before the new pitchers show.
Leave a Reply